
One of P5 Archive’s strengths is the mini-MAM function, which can capture thumbnails, proxies and metadata from media assets. This allows for the content of off-line media to be browsed visually in P5’s web-admin interface.
The capture of thumbnails and proxies can be configured beyond the default ‘preview generators’ by writing scripts to call software tools to generate different types of previews. In this article we’ll link to a script that generates a ‘mosaic’ image from a video file, as an alternative to rendering all or part of the original file into a low-res proxy. A 4×3 mosaic of an example video file looks like this.

It contains frames from throughout the video file, a simple representation of the content in a single image frame.
Let’s look in detail at how we configure P5 Archive to generate such mosaic images from media files that have been archived. We provide a zip containing both a shell script that works on Linux/macOS/Synology/QNAP/etc and a batch file for Windows operating systems. It may work on additional Linux-based platforms, we’ve not yet tested.
Credits:
Christophe Rémond (https://www.helios.pro/) for coming up the idea and writing the shell script.
Jennifer van Gessel (https://www.screencraft.com.au/) for the Windows batch file.
Step 1 (for shell script) – Download the script and place somewhere on your P5 Server host. I’ve used the P5 installation directory /usr/local/aw in my examples here. Once copied to the P5 host, you’ll need to make the script executable, so it can be treated as a script rather then just a plain text file. There are many resources online if you search ‘make script executable’. If you’re already familiar with executing commands in a shell/terminal window, you can enter ‘chmod +x video_to_mosaic.sh’ at the command-line while in the same folder as the script.
Step 1 (for batch file) – Download the batch file and place somewhere on your P5 Server host, e.g. D:\video_to_mosaic.bat. The script uses the ffprobe.exe and ffmpeg.exe binaries and specifies where it expects to find them. The defaults are D:\ffmpeg\ffmpeg.exe and D:\ffmpeg\ffprobe.exe. Copy these two .exe files from the folder below, within the P5 installation, or download an FFMpeg release and use instead. The script will create and use a temporary folder at D:\mosaic_temp to create the mosaic JPEG files, but they’re deleted once passed to P5 for insertion into the archive index.
C:\Program Files\ARCHIWARE\Data_Lifecycle_Management_Suite\bin\prevgen
Step 2 – Create or edit an existing Archive Plan, visit the ‘Previews’ tab, click the ‘New…’ button and pick ‘Add a Custom Script’ from the drop-down menu. Provide a list of file extensions for video file formats for which you would like to see mosaics, add as many as you wish for your workflow. Then provide the full path and filename of the script file that you’ve copied onto the P5 host system. When specifying the script location on a Windows host, use forward-slashes like /D/video_to_mosaic.bat instead of D:\video_to_mosaic.bat
See below for how this looks on our system (click image for larger version):

Apply the changes to save the preview generator and the archive plan.
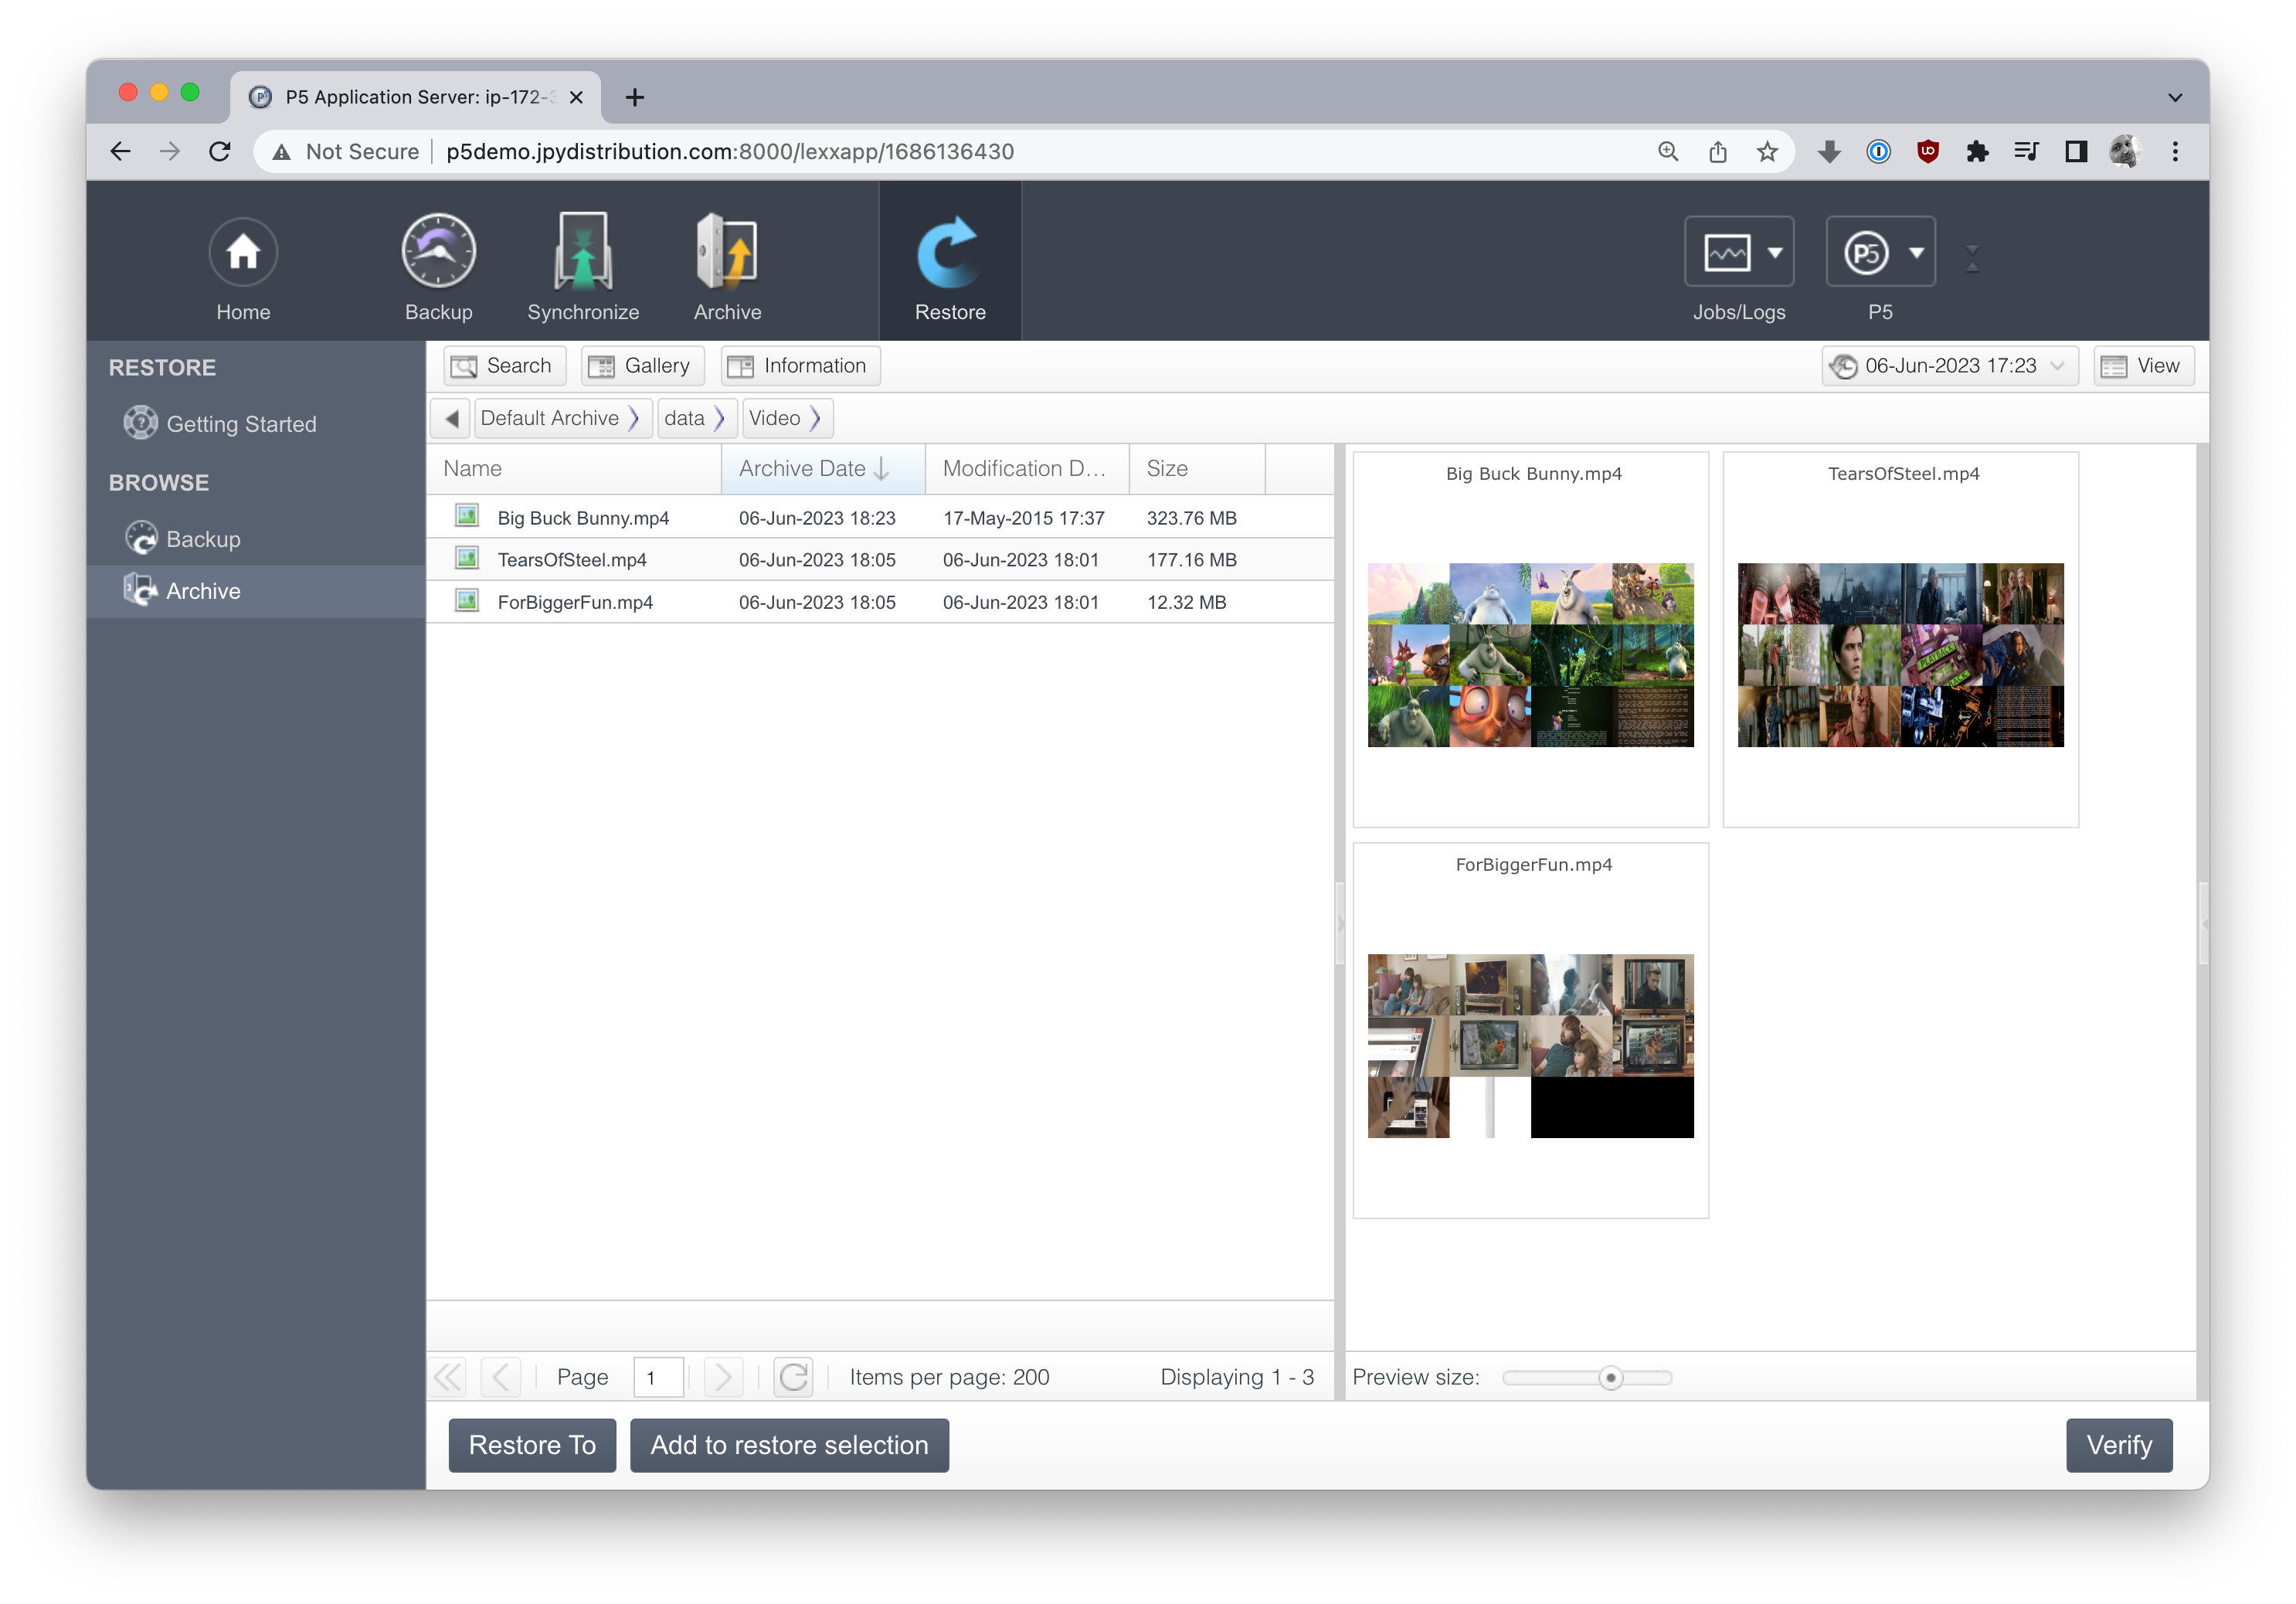
Step 3 – Archive some video files with extensions that match those you specified in the preview generator. If all is working, you should now see something like this when you browse in the P5 Archive Index.
Step 4 – Customise! You can edit the script or batch file to customise the number of video frames that appear in the mosaic. Look for this section in the shell script:
# mosaic is format 4:3
mosaic_factor=1
# a 1 value ratio 4x3=	12 images
# a 2 value ratio 8x6=	48 images
# a 3 value ratio 12x9= 108 images ...
The lines that begin with the hash ‘#’ character are comments and have no effect on the function of the script. These comments show what effect values of 1,2 and 3 will have when you edit the line ‘mosaic_factor=1’. Our examples above used a value of 1 resulting in 4×3=12 images in our mosaic. Adjust this value and re-archive files to see the changes.
This section in the batch file where the ’tile’ value can be adjusted:
D:\ffmpeg\ffmpeg.exe -y -i "%SRC%" -vf "fps=%FPS_VAL%,scale=320:-1,tile=4x3" -frames:v 1 -q:v 2 "%OUTFILE%" 2>nul
Make copies of the script and experiment! Note that the script uses the FFMPEG software/tool to generate the mosaic. This tool is pre-installed within Archiware’s installation so there’s nothing additional to install to use this script.